

Google recently announced they were going to discontinue the unlimited photo storage on Google Photos, even for Pixel users. I suppose I could pay, but even so, Google does this thing where they downsample your photo and etc. All I’m really asking for is that whatever bits I upload to the cloud are the same bits I download, but apparently that is not the case, which is disappointing.
This issue hasn’t exactly affected Pixel users, but it’s probably a matter of time. It’s also unclear how I’m supposed to get my Photos back out with all the information intact (for example, EXIF data is missing from photos downloaded via Google Photos API).
I don’t really want to continue losing pixels to Google, or be caught off guard when the terms and conditions change overnight. The free lunch ends at some point, so I’ve decided to look for an alternative cloud hosting for my photos. After shopping around for alternatives and looking at costs, I figured it may be easier to just run my own cloud storage out of my Unraid server. After all, I just upgraded the storage size. Estimating the amount of space it would take up… I’ve generated 100GB of photos over the last 5 years, which averages to about 20GB a year. Assuming I’d live for another 70, that’s 1.4TB total, not accounting for pixel density inflation and the likelihood I’d be taking more photos as I go. But suffices to say we can host our own cloud for now.
Taking Out my data
To deal with the EXIF issue, I used Google Takeout to get a copy of all my Photos data. Generally most photos were fine, but a good number had issues with the dates. According to some reddit sources, this is because metadata edits made on Google are written to a separate file and not the photo itself, so you’d have to write a script to apply the said changes to the photos.
I could write a script to do that… or I could pay this dude $15 to deal with it. Guess which one I picked!
NextCloud
I decided I was going to run a NextCloud instance. It’s free to self-host, simple to deploy, and has client apps on the phone and desktop for all my syncing needs. There’s also a container already built for Unraid. The following image is the end result.
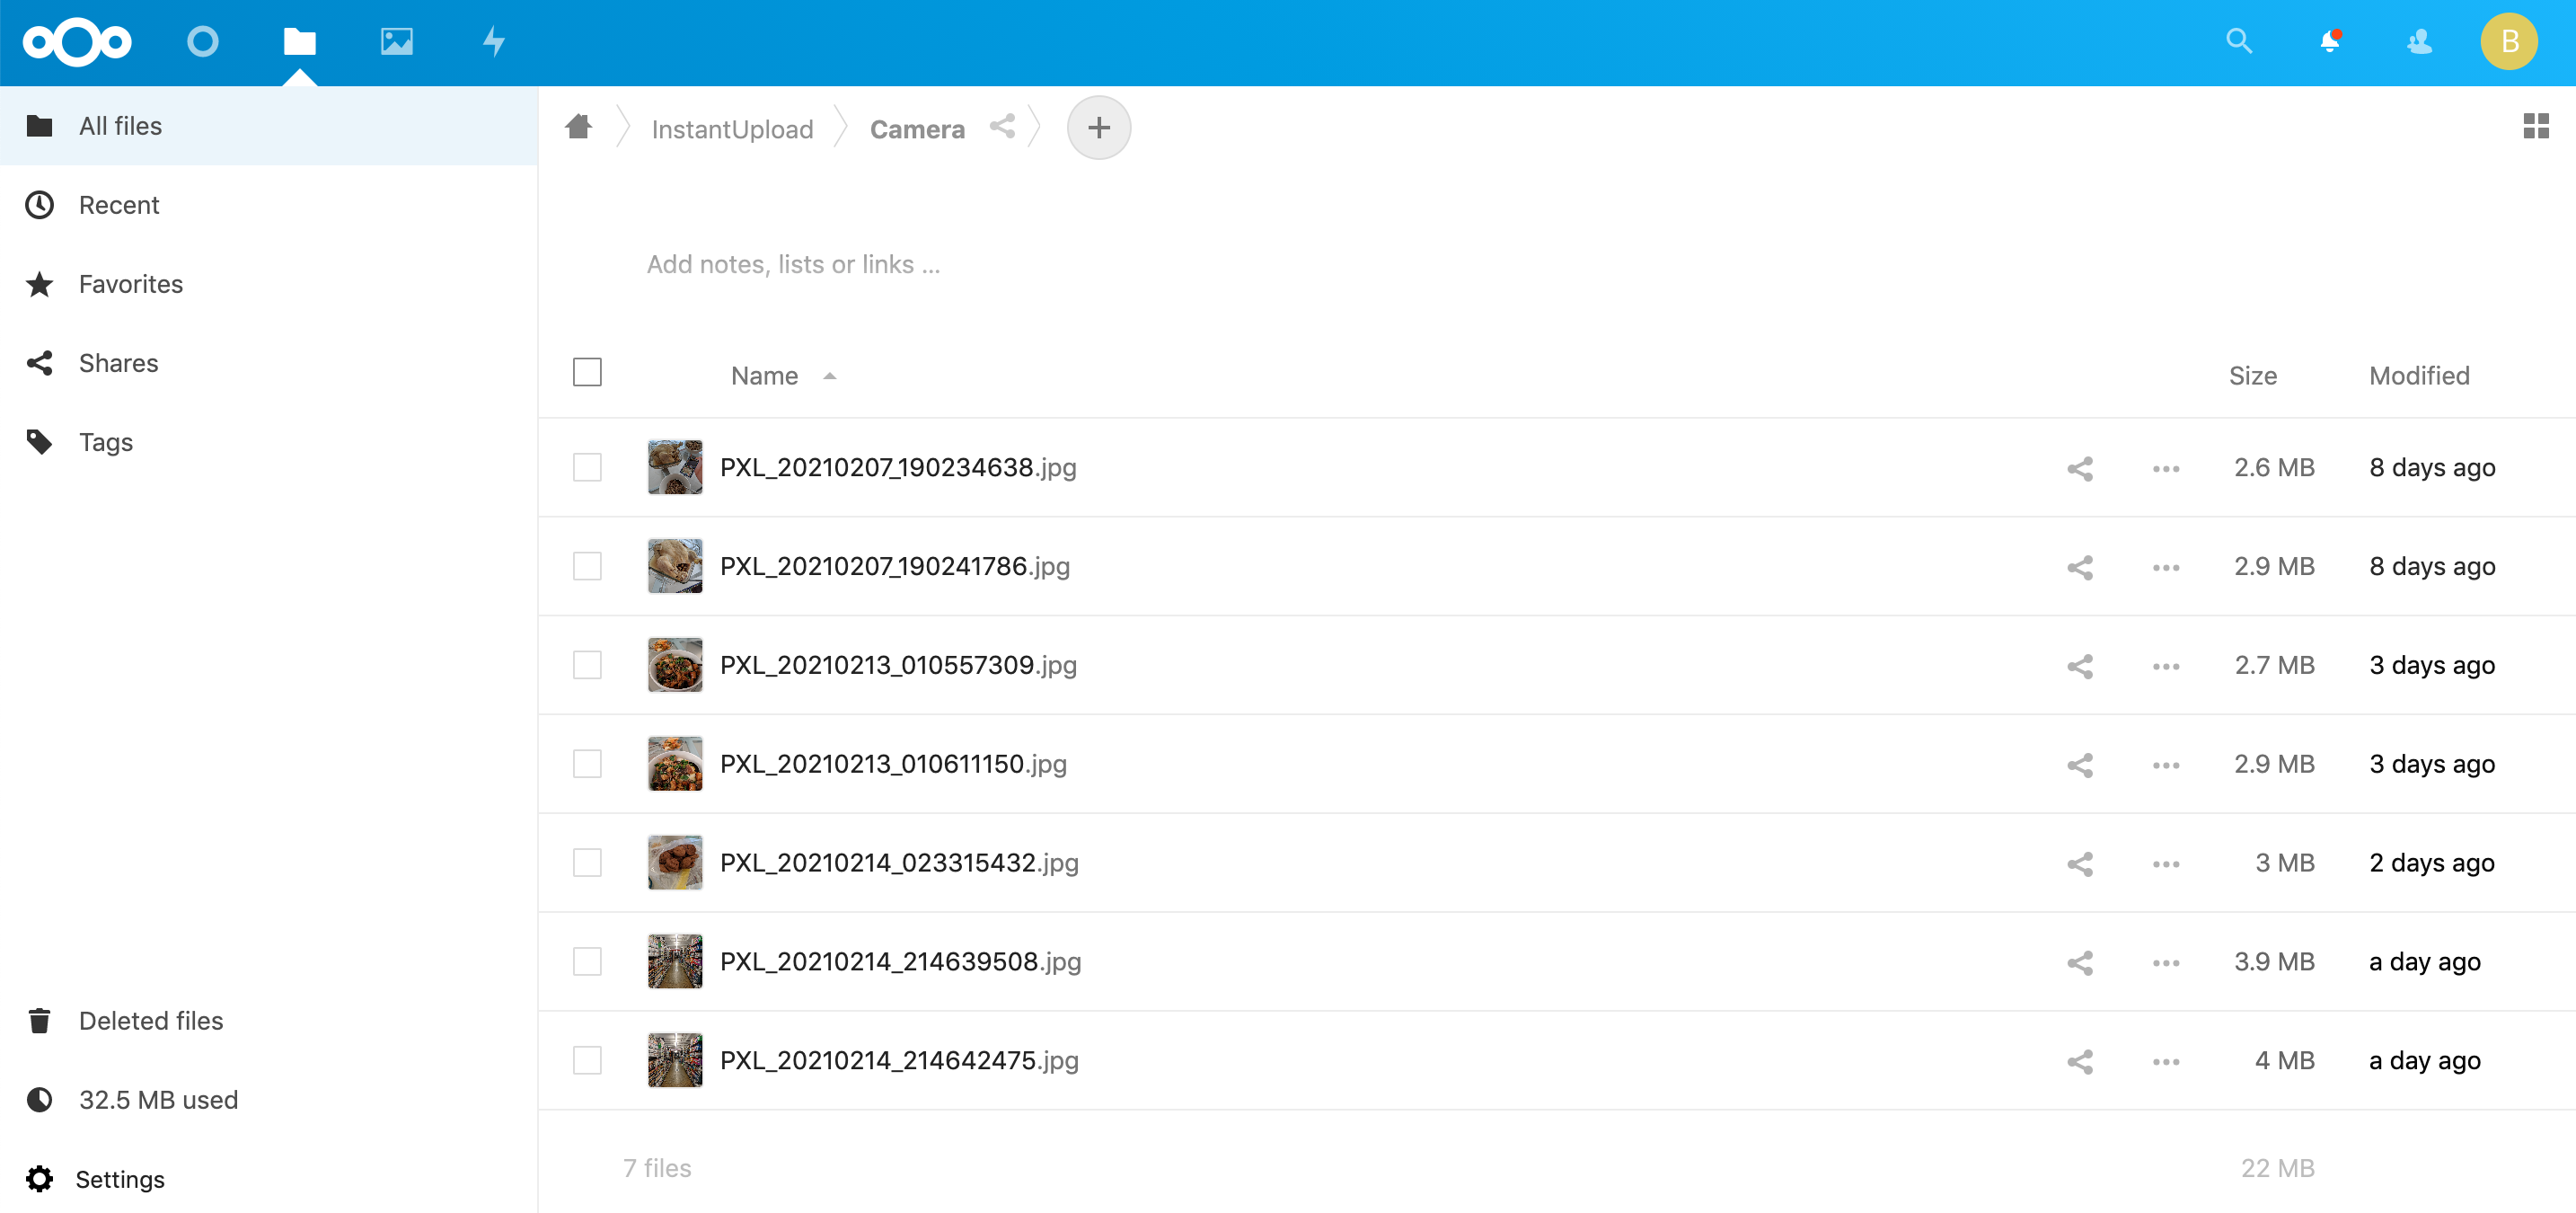
My NextCloud, it works!
Setting Up a Reverse Proxy
I have a DuckDNS domain from previously following the SpaceInvaderOne guide. Given I wanted a subdomain for each of my apps that I want to expose to the internet, I decided to buy myself a new domain name and have the subdomains point to DuckDNS instead. We’re keeping DuckDNS around to handle dynamic IP issues.
For NextCloud specifically, I want to access my cloud from the clearnet at nextcloud.mydomain.com. To do that redirection we need a reverse proxy. SpaceInvaderOne also has a tutorial for setting all these up, including NextCloud and Sonarr. I didn’t go this route because it involves having your containers on a custom Docker network, which requires a docker restart, which will probably kick me off the network since OpenVPN runs out of a Docker container. I’m not co-located with my server right now, so if I blow it up I’d need to drive 4 hours to fix it. I’m not convinced I’ll be able to regain remote access after restarting Docker (there isn’t actually a restart option, it’s more of stop and then start), so I figure I’ll just wrangle the reverse proxy bit myself.
When it comes to reverse proxies people think of Nginx, so I installed NginxProxyManager container on Unraid, which is a UI wrapper around Nginx (because I always screw up the config). The only part to take note of here is to set the HTTP and HTTPS port for the container. This is because Unraid itself binds to the traditional port 80 and port 443, so you’d need to use something else. I had these bound to the same ports as LetsEncrypt from the SpaceInvaderOne setup.
NginxProxyManager should install and start in a jiffy. Once on the dashboard we can add an entry pointing to NextCloud. NextCloud runs on HTTPS. We’ll just specify the local address and port number and we’re done.
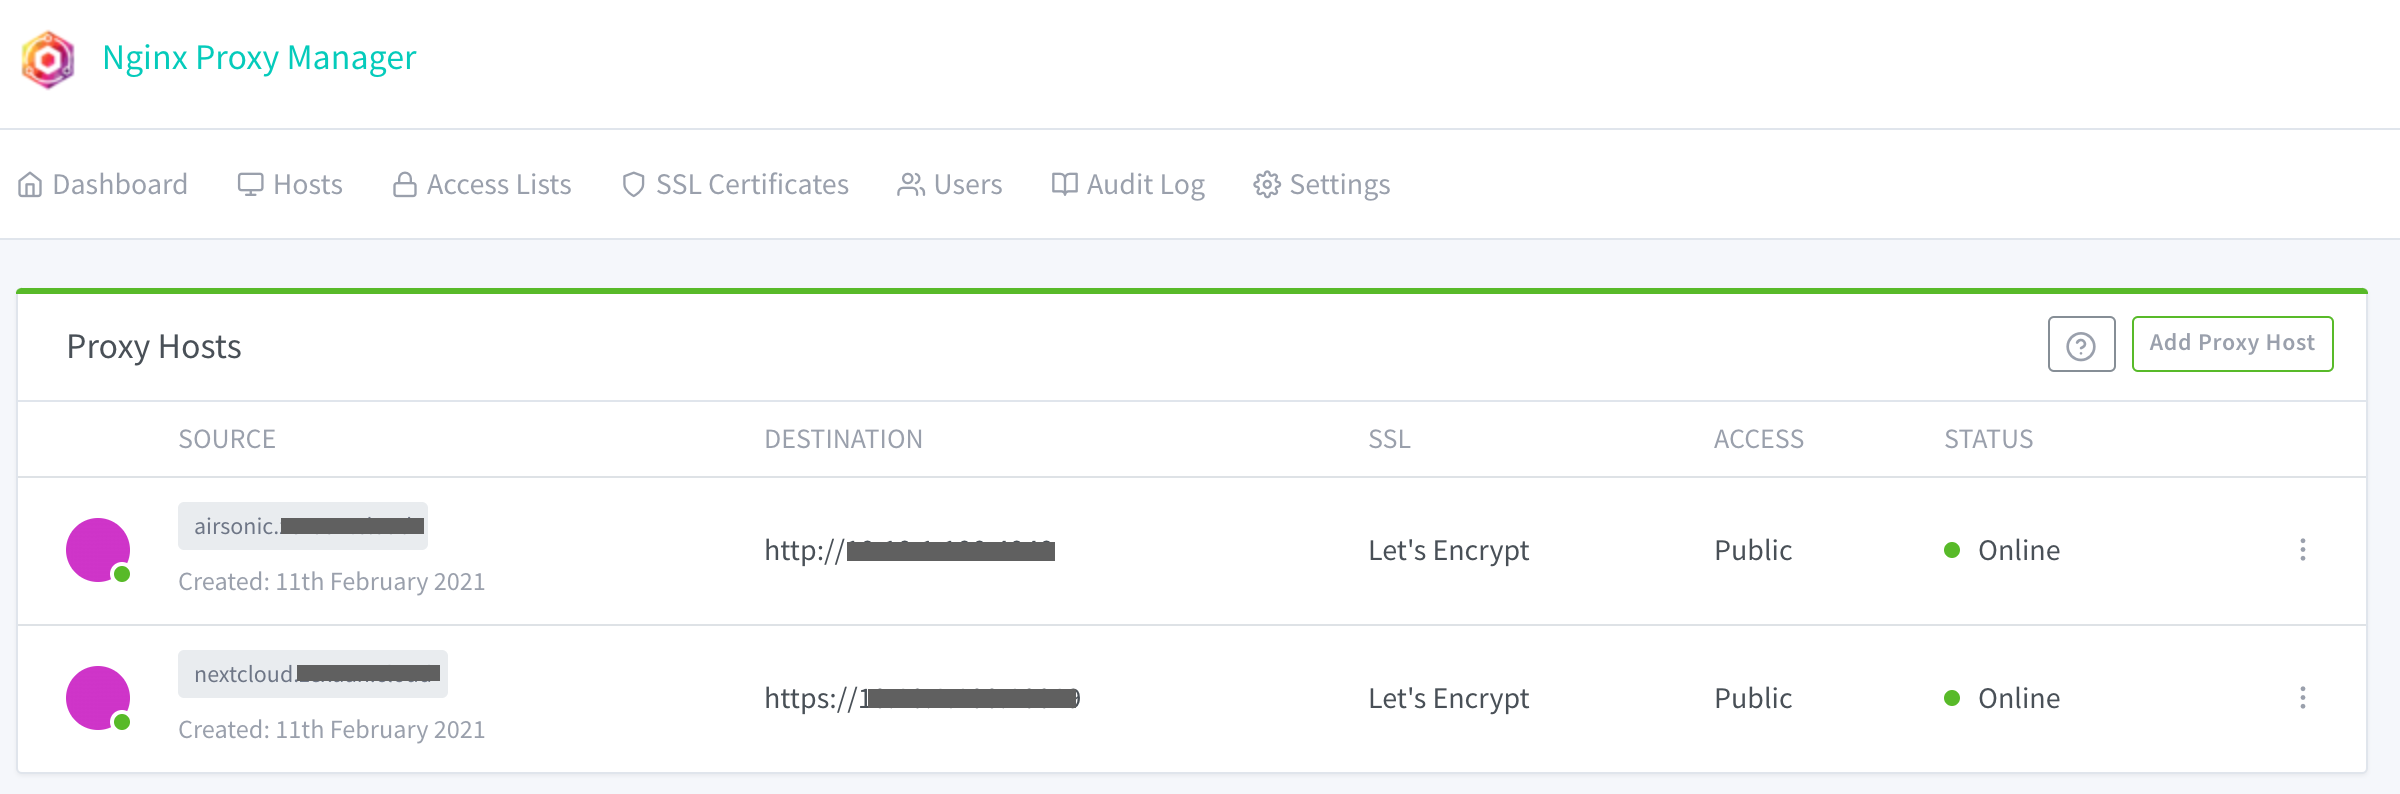
NginxProxyManager interface with two destinations.
You might also want to setup a certificate for it. Again, NginxProxyManager takes care of this really easily, you just have to click a few more buttons on the settings for this entry.
DNS records
The last bit is to make sure the subdomains for the domain we just bought points to the services we want. I added A name records for the subdomains to point to my DuckDNS address. Thereafter, accessing nextcloud.mydomain.com now redirects to my NextCloud instance. Great!